Adjust USB camera exposure on WendyOS
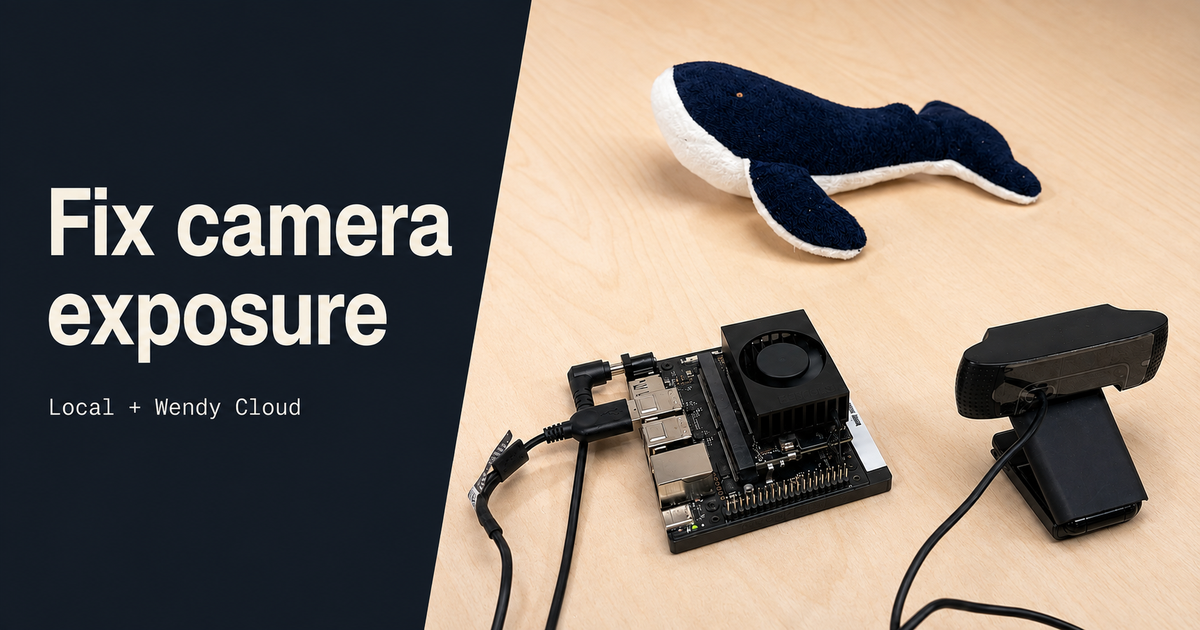
A camera can be connected and streaming while the picture is still too dark or too bright to use. Wendy lets you inspect and change its camera controls from your development machine, either over a local connection or through Wendy Cloud.
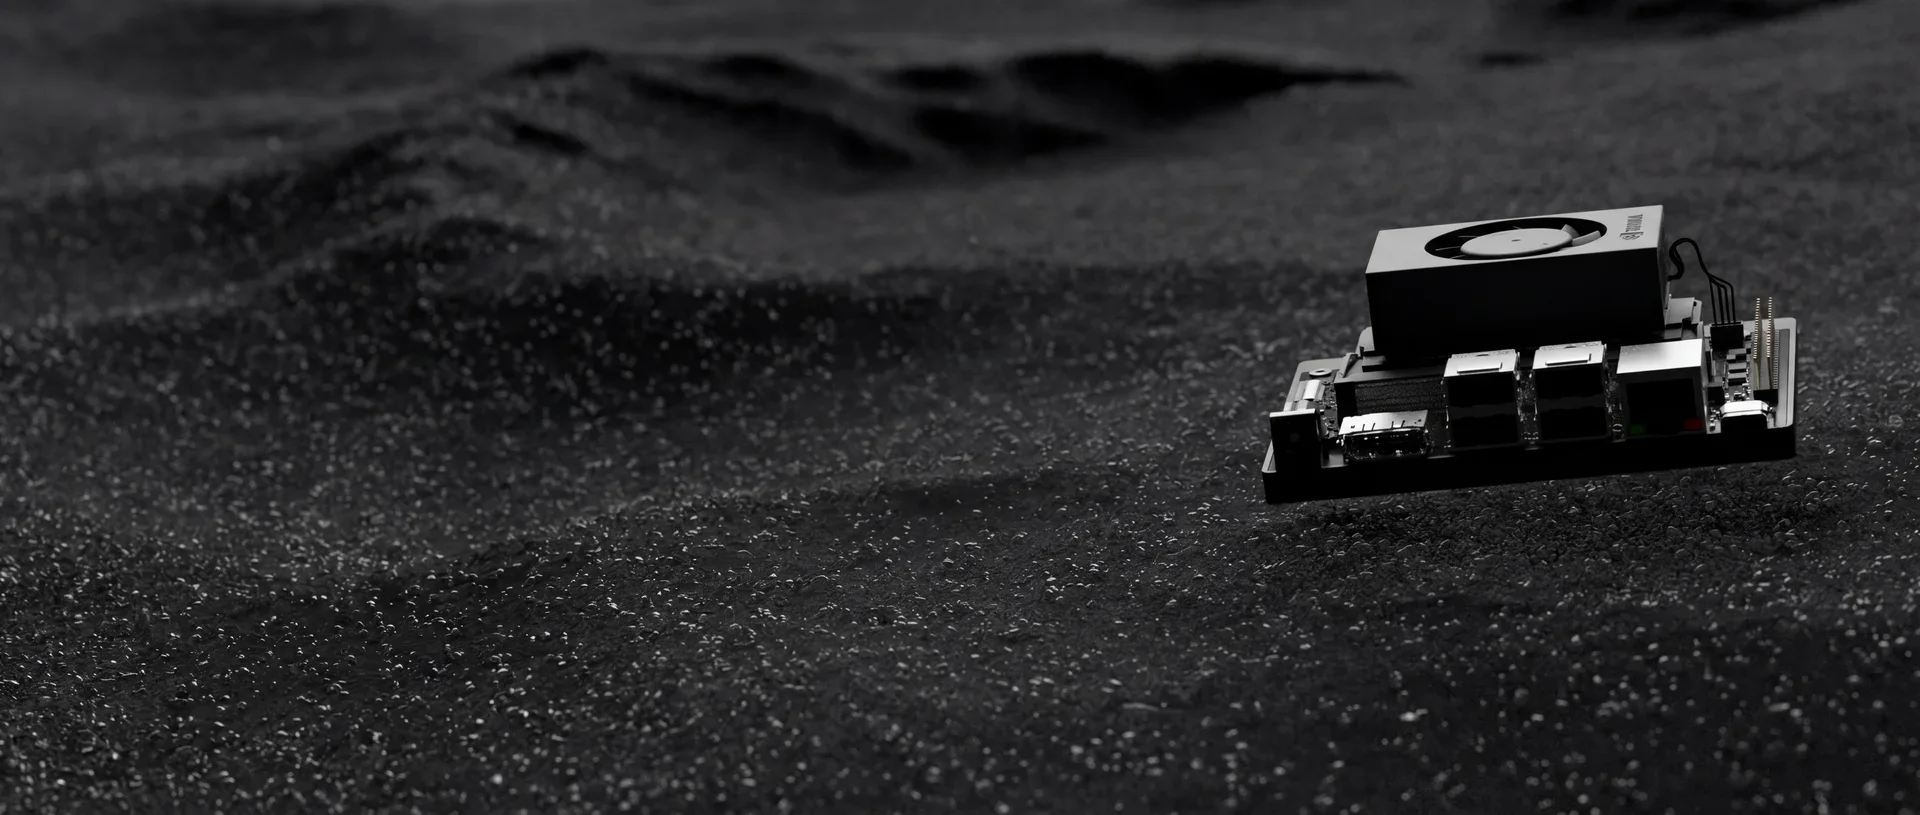
In this demo, a Logitech C920 USB camera is plugged into a Jetson Orin Nano. We watch a whale plushie in the live feed, switch to manual exposure, compare two settings, and return to automatic exposure. All changes use --no-persist, so the experiment leaves Wendy's saved settings alone.
Watch the vertical version on YouTube Shorts.
What you need
- A reachable WendyOS device with a USB camera attached.
- A recent Wendy CLI and device agent with camera control support.
- GStreamer on your development machine for the camera preview.
- A scene with visible detail that you can compare without moving the camera or changing the lighting.
The commands apply to attached USB or CSI cameras that expose V4L2 controls. Each camera decides which settings it supports. IP cameras do not expose these controls through Wendy.
If you are setting up Wendy for the first time, follow the CLI installation guide. You can adjust the camera directly through the agent without creating or deploying an app.
Open the camera preview
Select your device and list its cameras:
wendy device set-default
wendy device camera list
Find the C920, or your own USB camera, in the list. The examples below use camera 0; replace that number with the ID shown for your camera.
Open its live view:
wendy device camera view --id 0Leave the preview running and use a second terminal for the following commands. This lets you watch the image change as each setting is applied.
Inspect the available controls
wendy device camera controls 0The table lists the current value, minimum, maximum, driver default, and whether each control can be changed. The JSON output also includes the step size:
wendy device camera controls 0 --json > camera-controls-before.jsonKeep this snapshot if you want to refer to the original values later. It records the camera's current values, but does not identify which settings were previously saved in Wendy.
For the C920, we use auto_exposure, exposure_time_absolute, and backlight_compensation. Other cameras may expose different names or ranges. A manual exposure control can also appear as Mutable: no while automatic exposure is enabled.
controls reads these settings. set-control changes them.
Compare two manual exposure settings
On this C920, auto_exposure=1 selects manual exposure. We start with an exposure request of 20 and disable backlight compensation:
wendy device camera set-control 0 \
  auto_exposure=1 \
  exposure_time_absolute=20 \
  backlight_compensation=0 \
  --no-persist
Wendy applies the mode change before the manual exposure value. Check the result for each assignment. If your camera does not expose backlight_compensation, omit it; if it rejects a value, choose one within its supported range and step.
In the recording, 20 makes the whale plushie too dark. We increase the exposure request to 100:
wendy device camera set-control 0 exposure_time_absolute=100 --no-persistThe whale and the texture of the fabric become easier to see. These numbers suit this comparison, but are not a preset for every C920 or lighting condition.
Read the controls back after making a change:
wendy device camera controls 0The value requested by the command may differ from the value the driver reports. Some cameras round exposure requests to supported values. Check the reported value and the live picture before deciding whether a setting works for your camera.
Return to automatic exposure
On this C920, mode 3 returns the camera to automatic exposure:
wendy device camera set-control 0 auto_exposure=3 --no-persistThe camera resumes choosing its exposure. Mode numbers are camera-specific, so check what your camera accepts before copying them.
The --no-persist flag changes the live setting without modifying Wendy's saved overrides. It does not undo an earlier saved setting, and it does not automatically restore the previous value when the command finishes. An existing saved override can be applied again when Wendy starts a new capture pipeline.
Make the same changes through Wendy Cloud
For a device enrolled in Wendy Cloud, sign in to the account that can access it and use wendy cloud device. Replace your-device-name with the device's cloud name:
wendy cloud device camera list --device your-device-name
wendy cloud device camera controls 0 --device your-device-name
Open the remote preview in one terminal:
wendy cloud device camera view --id 0 --device your-device-nameThen apply the same controls from another terminal:
wendy cloud device camera set-control 0 \
  auto_exposure=1 \
  exposure_time_absolute=100 \
  backlight_compensation=0 \
  --no-persist \
  --device your-device-name
Keep the cloud device prefix and the same device name when reading or changing that remote camera's settings. The controls still come from the camera attached to the device, and the same range and persistence rules apply.
If the picture does not change
Check that the preview and control commands target the same device and camera ID. Read each assignment's result, then list the controls again. A control may be inactive until its automatic mode is disabled, or another application may be changing the camera's settings.
If the command is missing or the agent reports an unimplemented method, update both the CLI and device agent to versions with camera control support.
When you have a setting you want to keep, repeat the complete set of assignments without --no-persist. For more on camera access in WendyOS, see the camera documentation.
Related post
Expand your knowledge with these hand-picked posts.
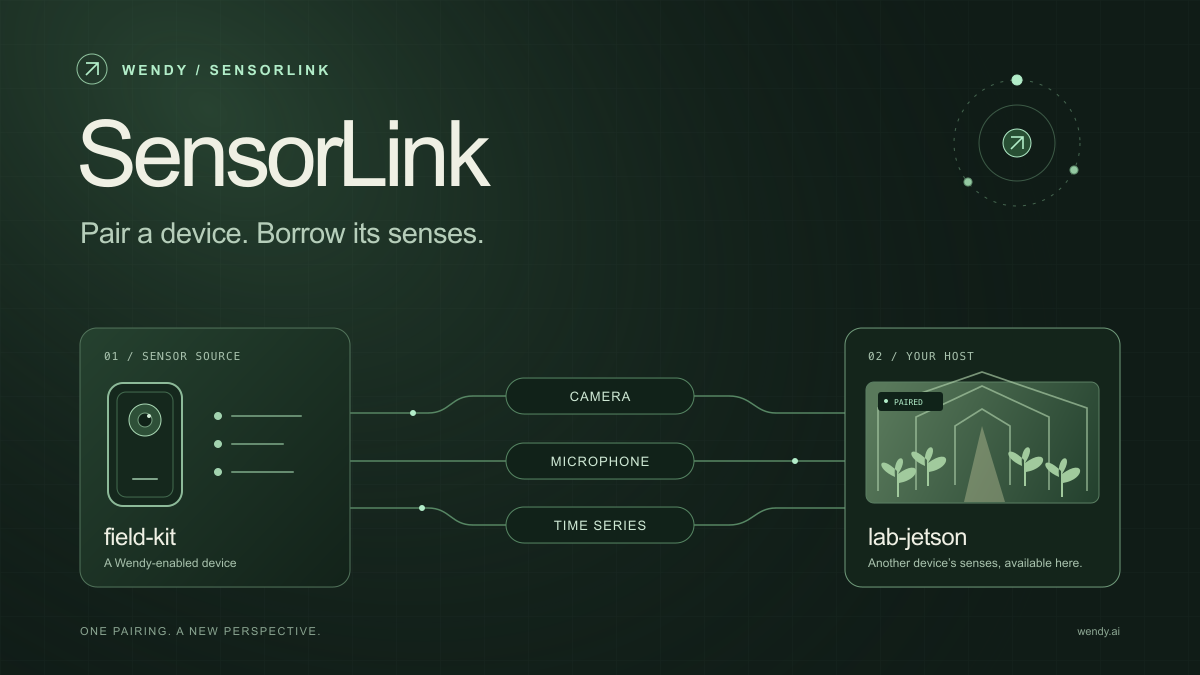
SensorLink: Pair a Device. Borrow Its Senses.
Give your Wendy host the eyes and ears of another device. SensorLink brings cameras, microphones, and a shared model for time-series sensors into a familiar pairing workflow.
Wendy Labs - Wendy Labs Team
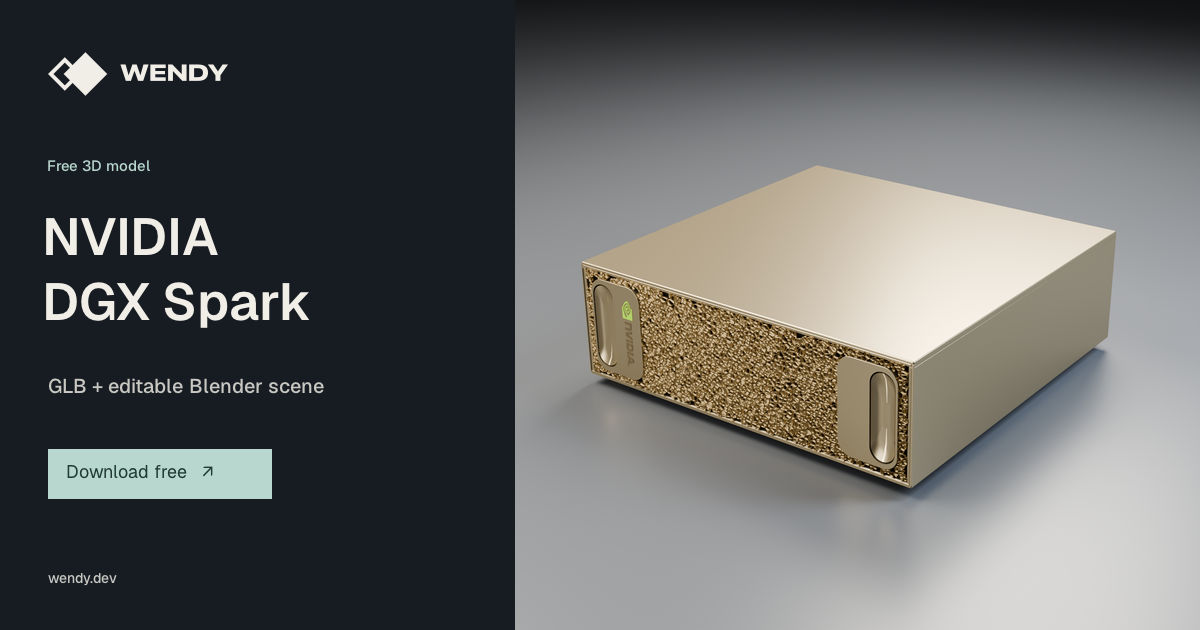
Free NVIDIA DGX Spark 3D model
Download our free NVIDIA DGX Spark 3D model as a GLB or an editable Blender scene with studio lighting, materials, and cameras. No signup required.
Wendy Labs - Wendy Labs Team
Start with one device. Close the loop around it.
Use WendyOS on your hardware or add Wendy Agent to an existing Linux or Apple Silicon Mac. Connect sensors, run your code, and carry what you learn into the next release.