Build on a Bigger Machine: the Remote Build Host
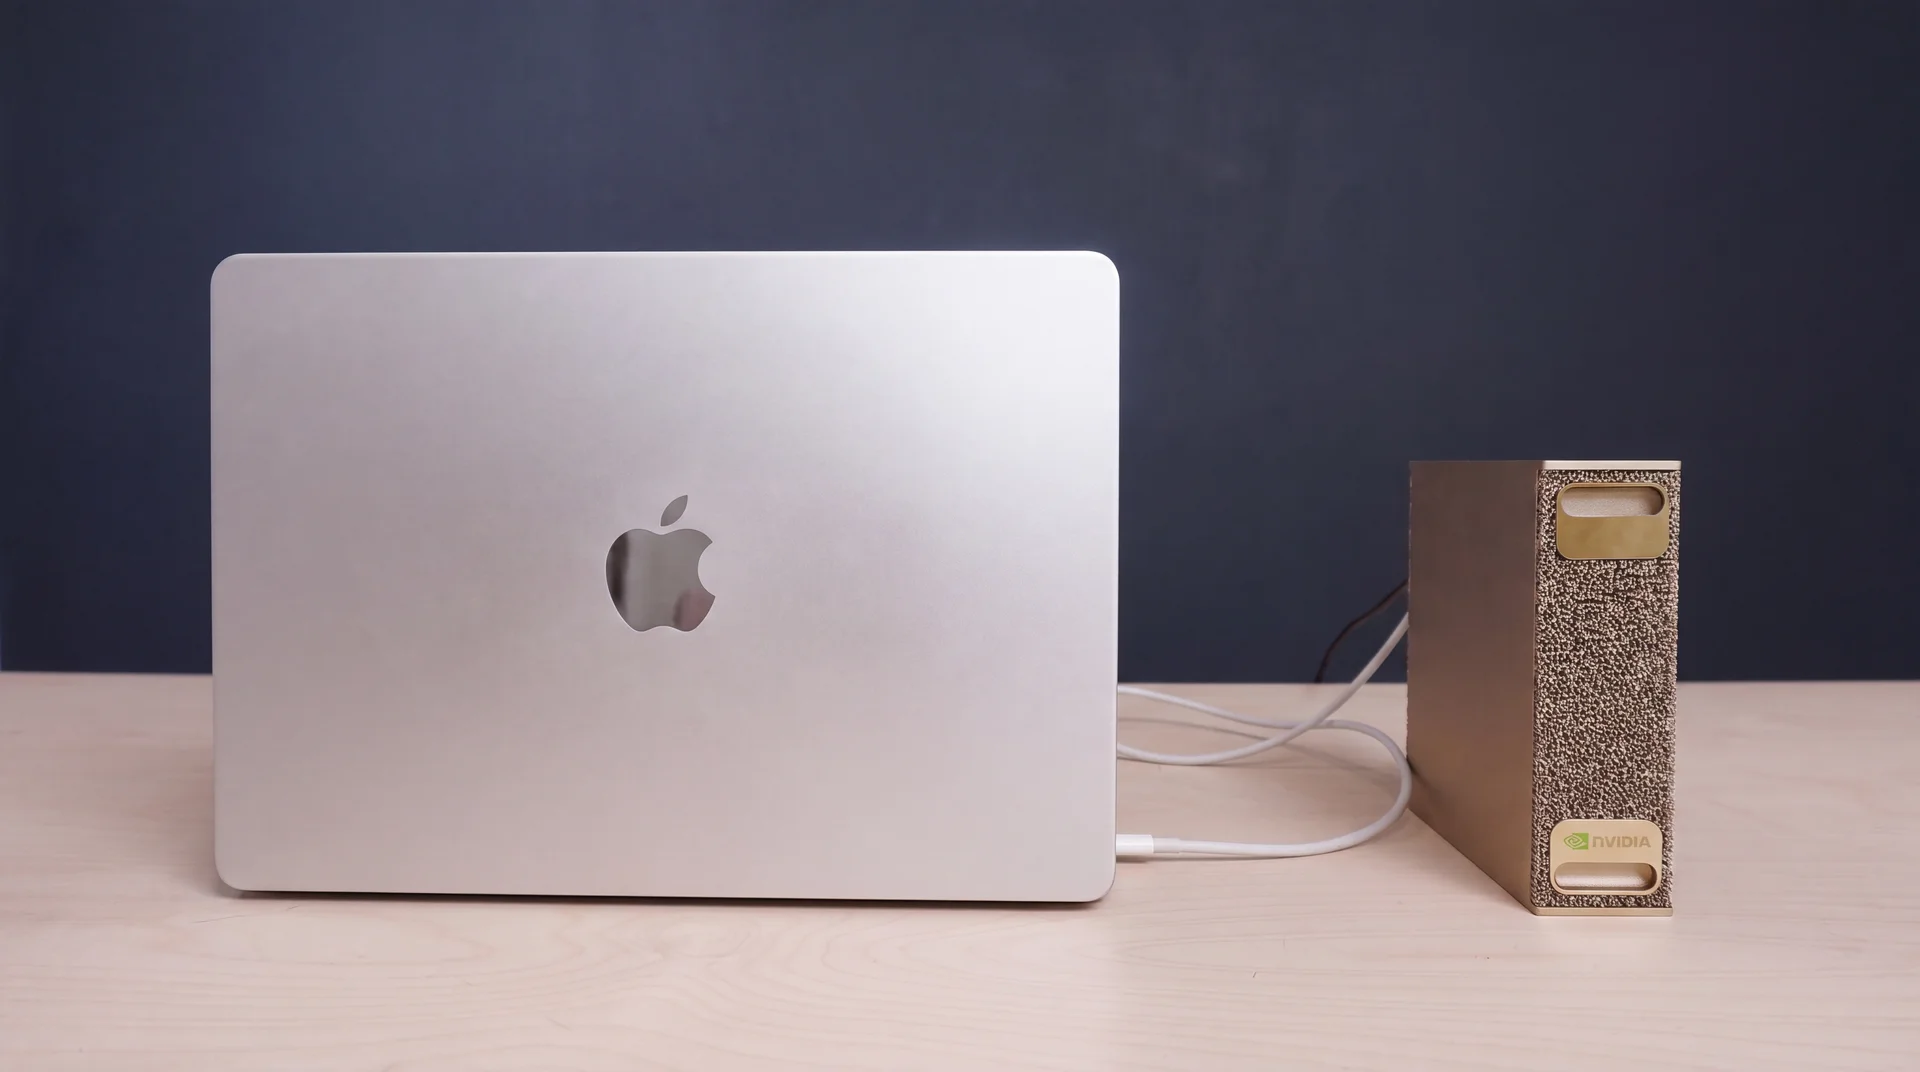
Stop making your laptop emulate an edge device—or making a Raspberry Pi compile its own app. One flag sends the build to a faster WendyOS machine that compiles natively, then delivers the image straight to the target. The clever part: unchanged source stays put, and the finished image never takes the long way through your laptop.
Your own machine is not always the right place to build.
By default, wendy run builds your container image right on your Mac or PC and then ships the result to the device. That is the fast path most of the time, and it is what happens if you never touch a flag. It stops being the fast path the moment your machine is the wrong kind of machine for the build in front of you.
The mismatch is usually architecture. Your devices are linux/arm64; your laptop probably is not. Building an arm64 image on an x86 machine means running the whole compile under QEMU emulation, which is correct but slow, and anything CUDA-heavy wants a real NVIDIA GPU your laptop may not have at all. Building on the device you are shipping to is worse still: a Raspberry Pi or a Jetson Orin Nano is a lovely place to run a container and a miserable place to build one, with a small CPU and slow storage that turn every edit-run cycle into a coffee break.
The remote build host removes the choice. Instead of building on your own machine, you point wendy run at a machine that is actually good at building, an office DGX Spark or any beefy WendyOS Linux box, and it does the compile natively for the target architecture. Neither your laptop nor the device does the heavy lifting.
The CLI walks the project on your machine, applies the same ignore rules the build will use, and writes a tar with no mtimes and sorted entries so the bytes are deterministic.
$ wendy run --build-host spark-office
● Packing build context
  sorted, mtime-stripped tar
How the pipeline actually works.
The interesting part is not that the build moves. It is what moves and where, because the design is deliberate about keeping bytes off the slow links.
Pack. Resolution stays on your machine, where the repository lives. The CLI packs a build context from your project, applying the same ignore rules the build will use so it carries exactly the files it needs and nothing else.
Chunk and push. The context is split into content-addressed chunks and pushed to the build host. Because chunks are addressed by their content, the host only pulls in the ones it has never seen. The first push sends the whole context; after you edit a file, the next push sends the handful of chunks that changed and skips the rest.
12 of 12 chunks transferred. Because chunks are addressed by their sha256, an unchanged chunk is recognised on the host and never re-sent. Schematic — real chunk sizes and counts depend on your project.
Build. The host reassembles the chunks and runs the compile on real hardware, natively targeting the device's architecture. The build log streams back to your terminal as it goes, so a remote build reads like a local one.
Deliver. When the image is built, the host pushes it directly into the target device's registry over the mesh. This is the byte-saving move: the image, far larger than the source that produced it, never travels back to your laptop. Your laptop sent a chunked context once and receives only log lines and, eventually, a success.
Run. With the image already sitting in the target's registry, the CLI finishes with the same deploy step a local build ends with. The device runs the finished container, and your laptop never emulated an architecture it does not have.
Where this fits in WendyOS.
The remote build host is not a separate tool you install. It rides the pieces WendyOS already has: the mesh that connects your devices, the chunk store that moves bytes efficiently, the certificates that authenticate them, and the deploy path wendy run already uses. --build-host simply reroutes the middle of a flow you already know, and leaves both ends, your project on one side and your device on the other, exactly where they were.
If you leave the flag off, nothing changes: wendy run builds the way it always did. Set a default build host once and every run borrows the fast machine without another thought. Delegating the build belongs to wendy run specifically, because it is the command with a target device to push the finished image to.
Compile where it is fast, run where it belongs.
The tiny device was never the right place to compile, and your laptop was never the right place to emulate an architecture it does not have. --build-host lets the compile happen on the machine best suited to it, moves the least data possible to get there, and lands the result exactly where it runs. The device stays busy doing the one thing it is good at: running the container someone else built.
Related post
Expand your knowledge with these hand-picked posts.
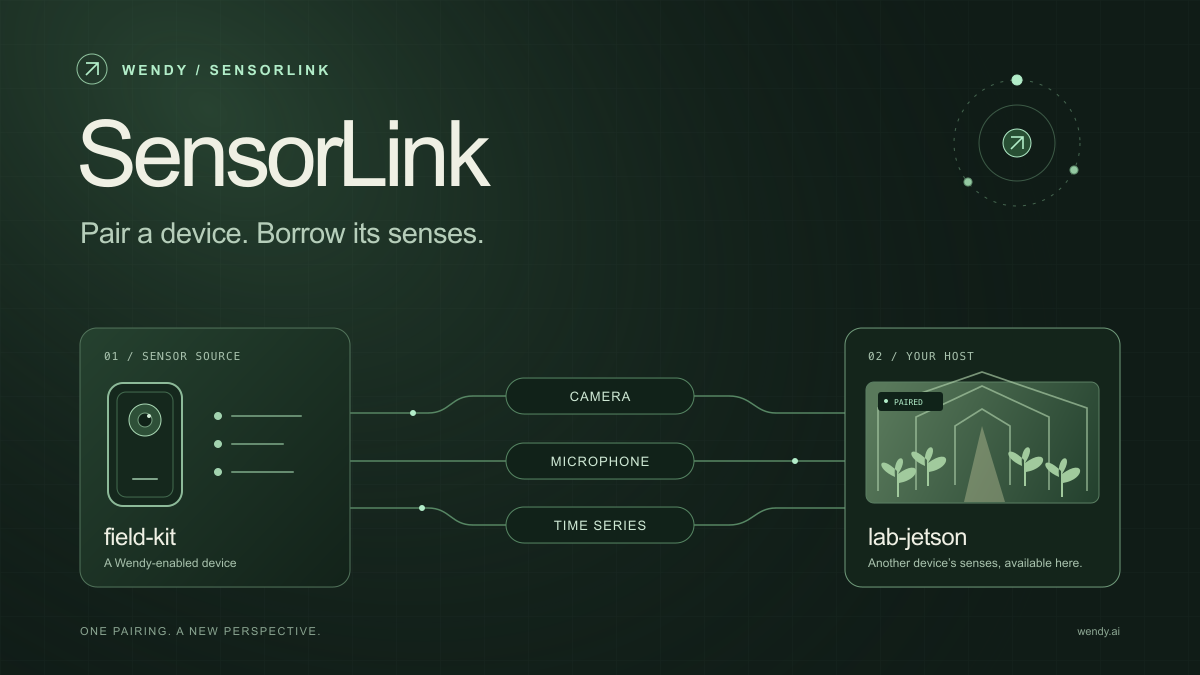
SensorLink: Pair a Device. Borrow Its Senses.
Give your Wendy host the eyes and ears of another device. SensorLink brings cameras, microphones, and a shared model for time-series sensors into a familiar pairing workflow.
Wendy Labs - Wendy Labs Team
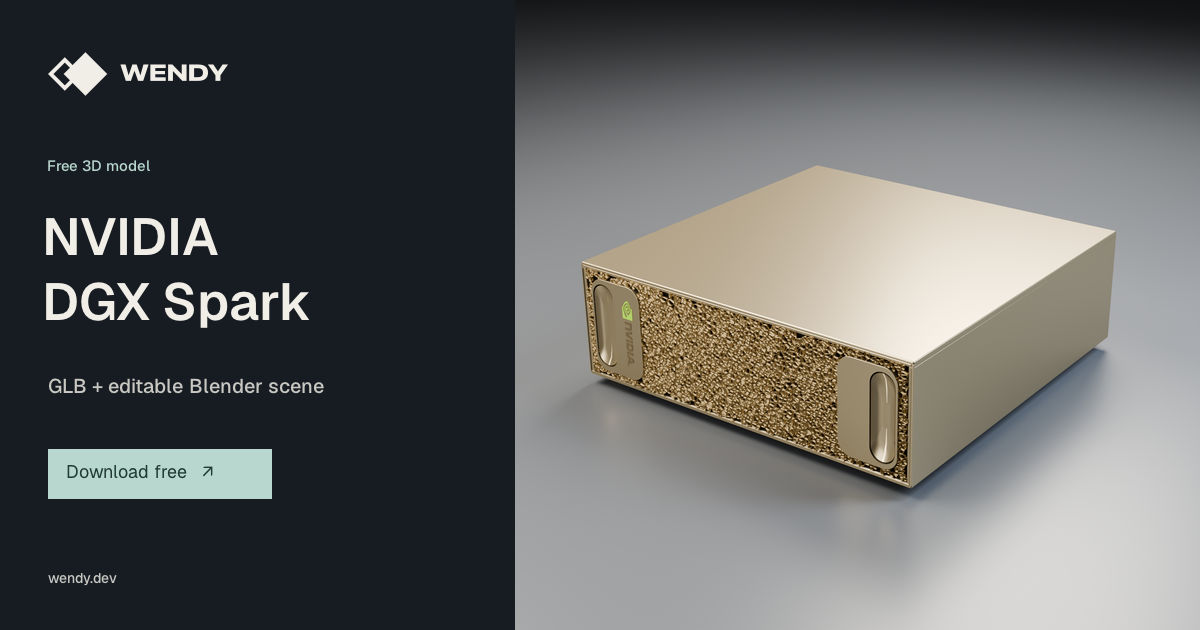
Free NVIDIA DGX Spark 3D model
Download our free NVIDIA DGX Spark 3D model as a GLB or an editable Blender scene with studio lighting, materials, and cameras. No signup required.
Wendy Labs - Wendy Labs Team
Start with one device. Close the loop around it.
Use WendyOS on your hardware or add Wendy Agent to an existing Linux or Apple Silicon Mac. Connect sensors, run your code, and carry what you learn into the next release.